# Unity PC XR SDK
Version:1.1.3
# Environment Building
# Installation of Pimax Client
Find Pimax Client download link from Pimax official website (opens new window).
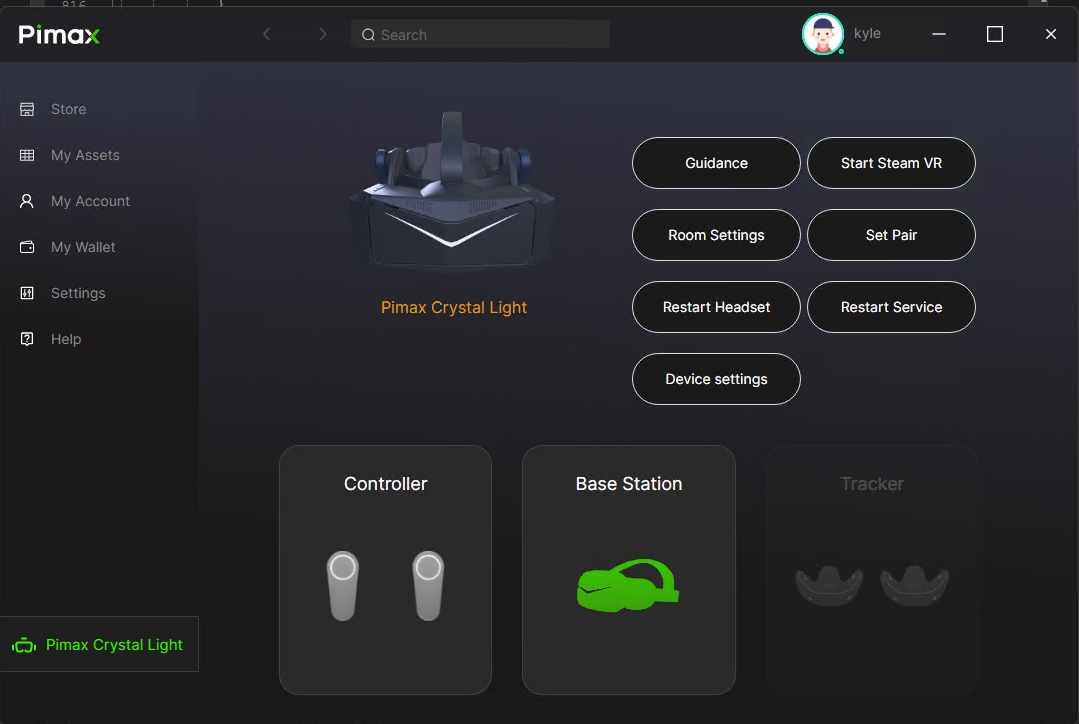
# Connecting Pimax Headset Equipments
Connect the power adapter data line, DP and USB cable to the computer, turn on Pimax client and wait for the device to connect to the computer. The connection is successful when the green light is on.
# Use of Unity
# Download Unity Development Engine
Google search Unity, download Unity engine from Unity official website.
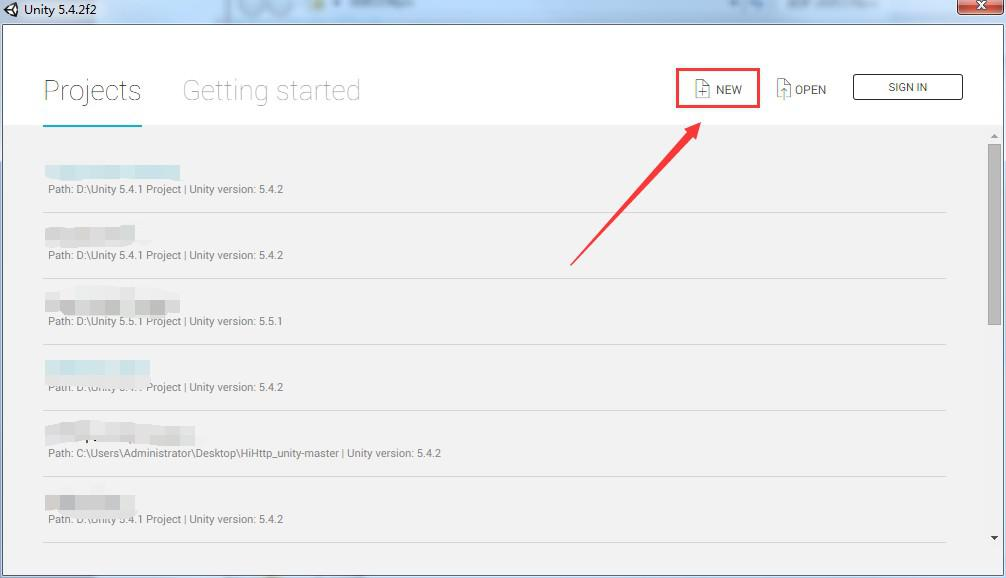
# Create Unity projects
Double-click Unity to open the desktop, create a new project, and click NEW in the upper right corner to create the project.
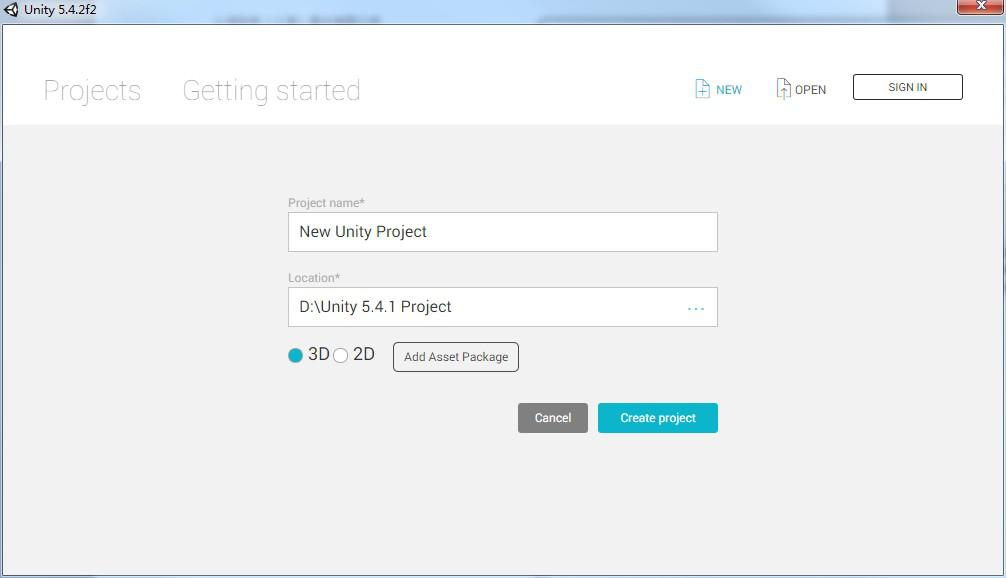
After clicking, an option window appears. The first line of Project Name is the project name, and the second line of Location is the path to store the project. After entering the completed project name and path, click Create Project to create a Unity project.
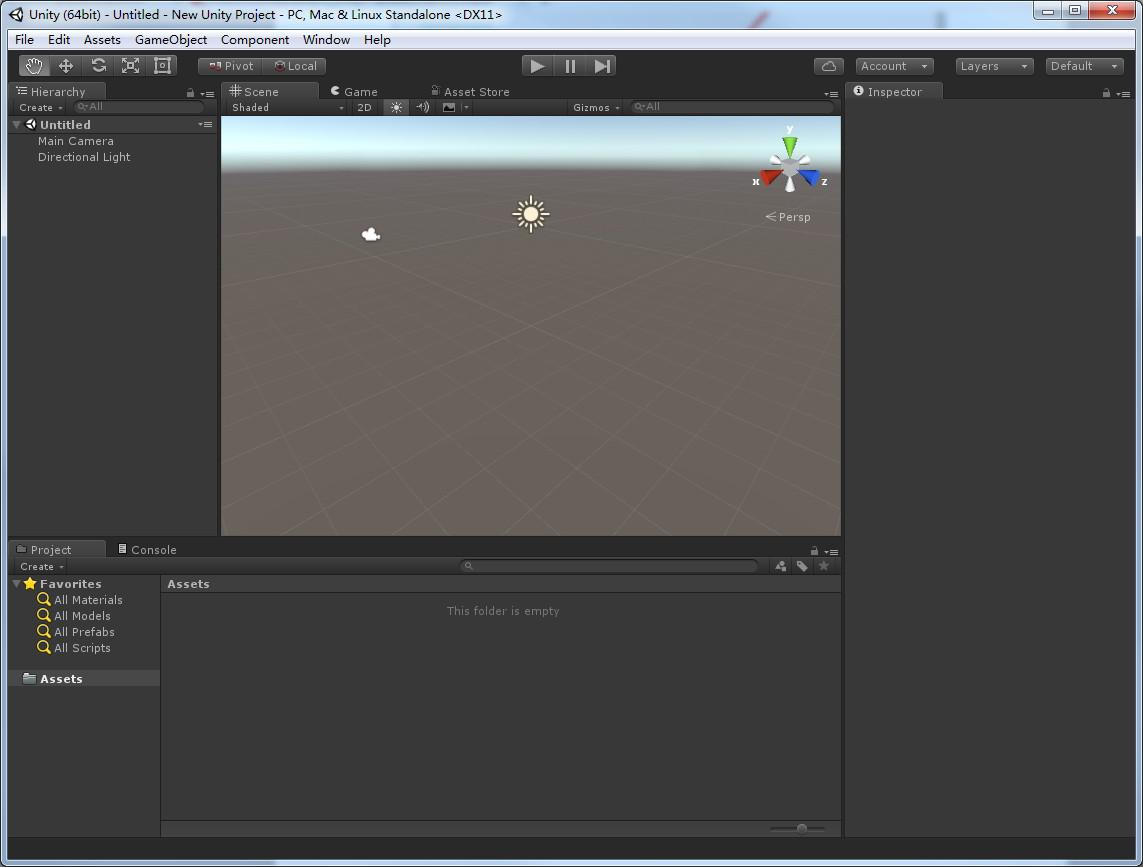
When the creation is completed, a Unity operation window will be entered, which is our Unity project.
# Import SDK
# Download/Install SDK
Download Pimax Unreal SDK from here and install it. The Unity SDK is installed to \Pimax\Sdk\Unity_plugin by default.
# Import SDK
- Find the Unity_plugin folder and import the PVR-Unity.unitypackage resource package into the scenario. There are two ways to import the PVR-Unity.unitypackage resource package into the scenario:
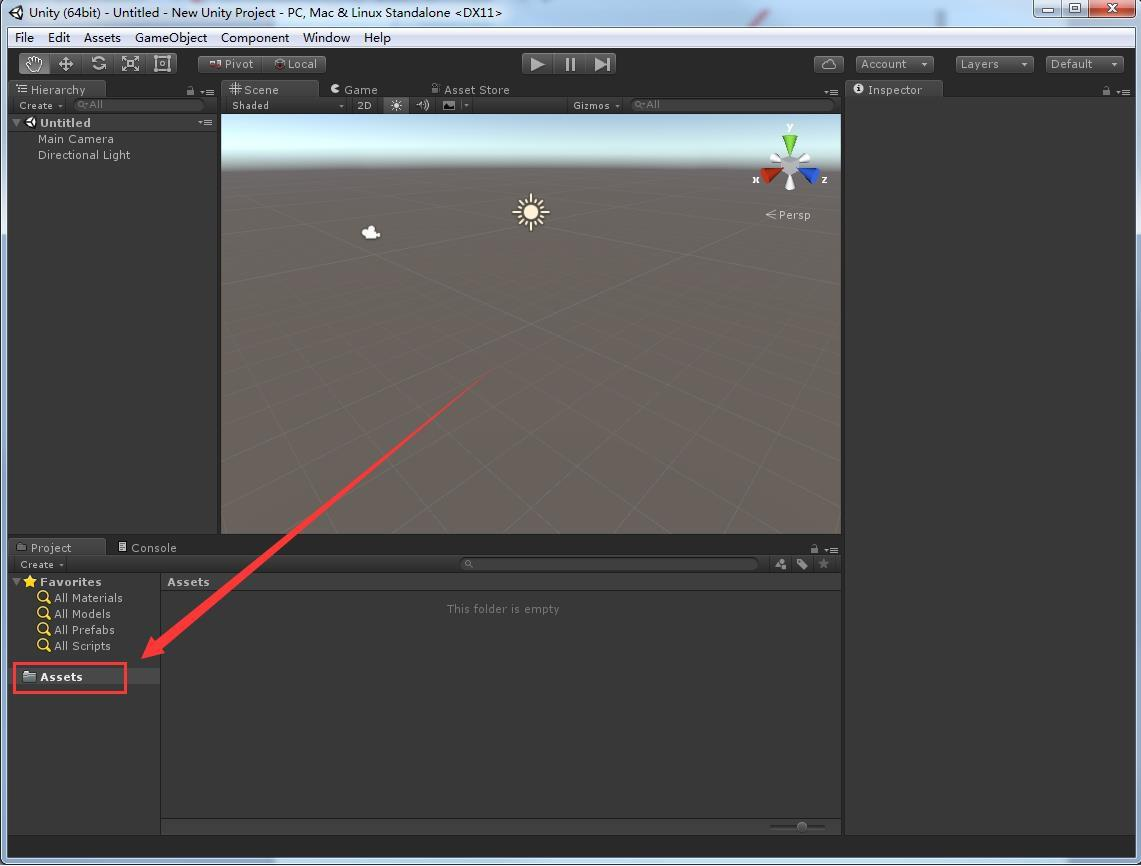
Method 1 : Drag and drop the PVR-Unity.unitypackage resource package into the Assets folder as shown in the picture below:
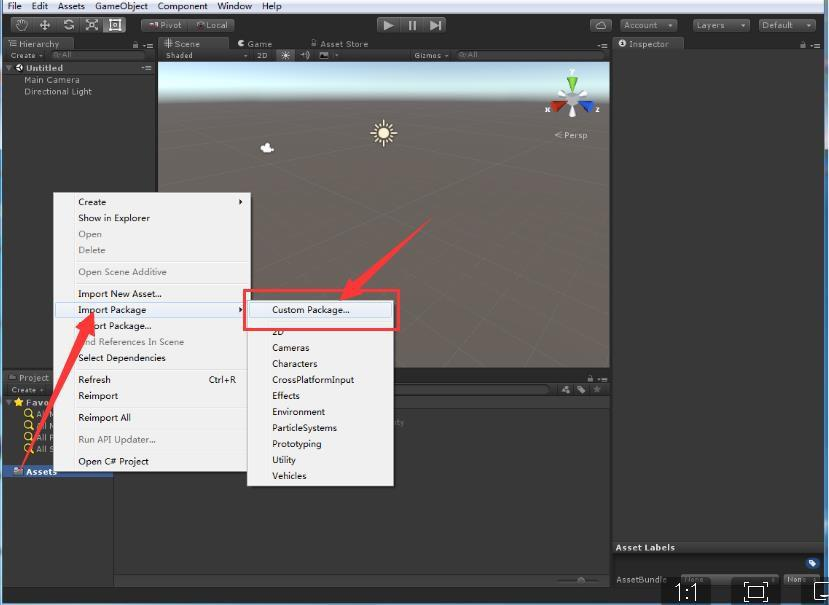
Method 2 : Find the Assets file directory in the picture below. Mouse over to Assets and right-click Custom Package in Import Package. Find the folder that holds the PVR-Unity.Unitypackage resource package in the selection box that appears. After clicking the PVR-Unity.Unitypackage in the folder, click the "Open" button in the lower right corner.
After completed anyone of the two operations above, a bullet window will appear as shown in the picture. Click the Import button in the lower right corner to import the SDK.

The following directory of resource files shows that you imported successfully.

# Use of SDK
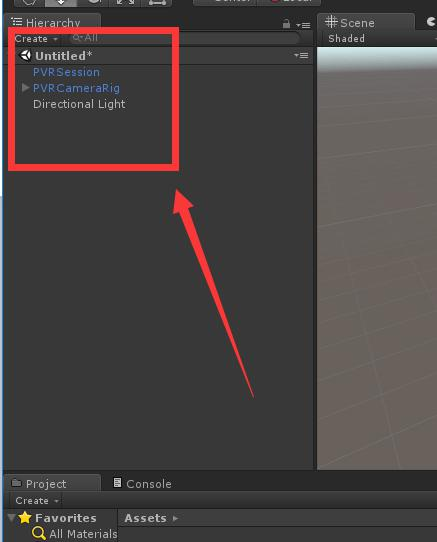
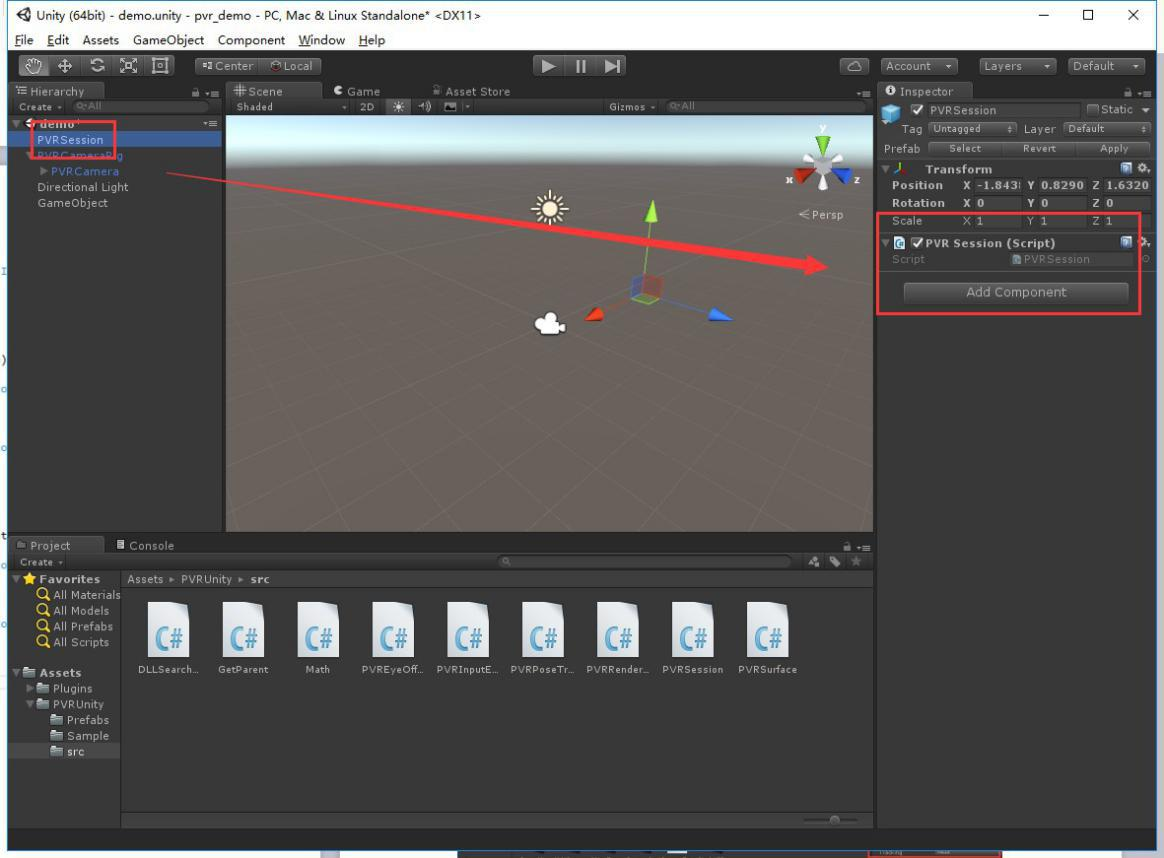
Find the PVRUnity folder in the Assets directory, drag the PVRCameraRig and PVRSSession prefabricates in the Prefab folder into the Scene view, and delete the MainCamera of the original scene, as shown in the picture:
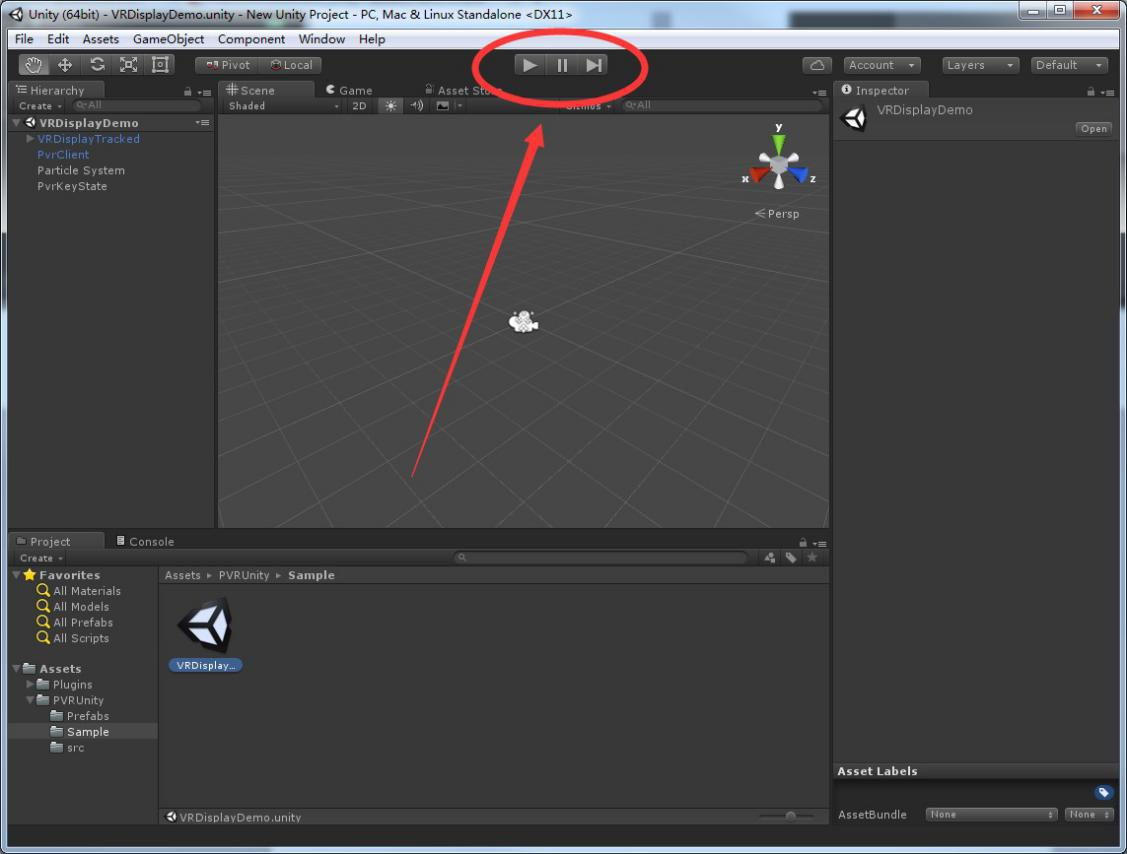
After making sure that the headset and Pimax Client are connected successfully, we can start our VR development journey by clicking the left triangle button of the red circle in the picture to run the project.
# Pack Unity
How to package VRDisplayDemo into. EXE file?
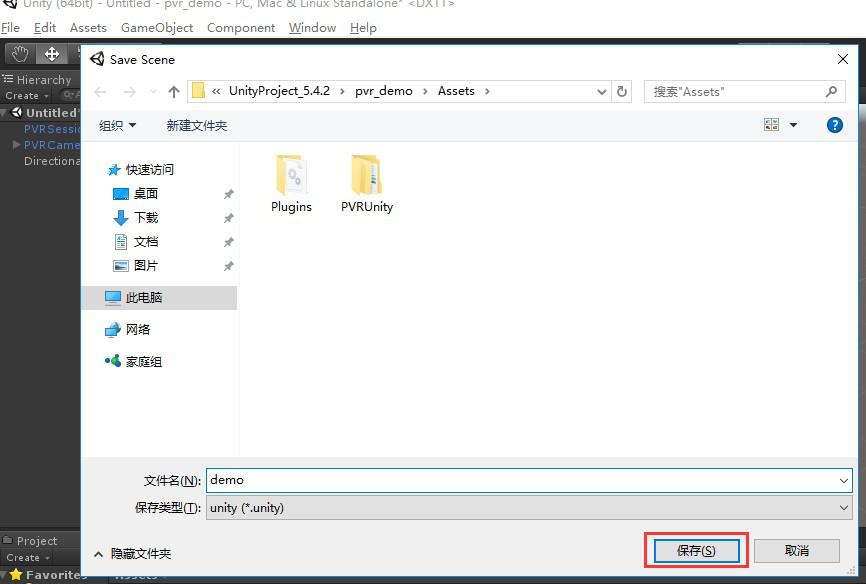
Step 1: Click Save Scene in the File column in the upper left corner to save the scene.
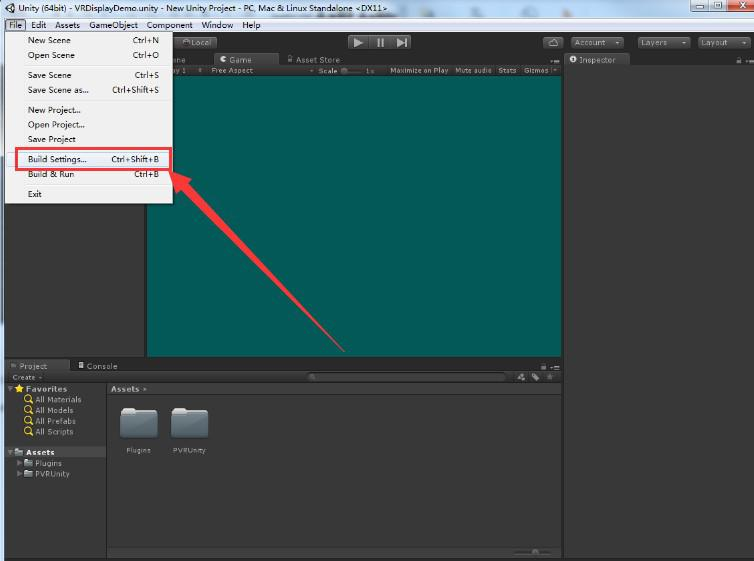
Step 2: Click File - > Build Settings in the top corner and then an option box appears.
Step 3: Click Add Open Scenes to add your packaged scenario VRDisplayDemo, choose the platform as the first one in the option bar(PC-side options in red boxes),select the Architecture as x86_64 (click on the x86 bar button to display a drop-down menu, and select X86_64)
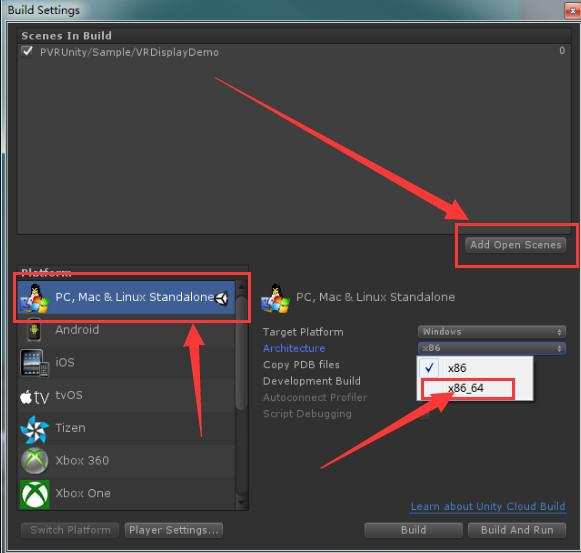
Step 4: After the two steps above are completed, click the Build button in the lower right corner (as shown above), and a window will appear to select the path to store. After selecting the path, click Save. In this way, a Unity version of the VR project has been successfully completed.
# Realization of Headset Key Function
# Response to keystroke events
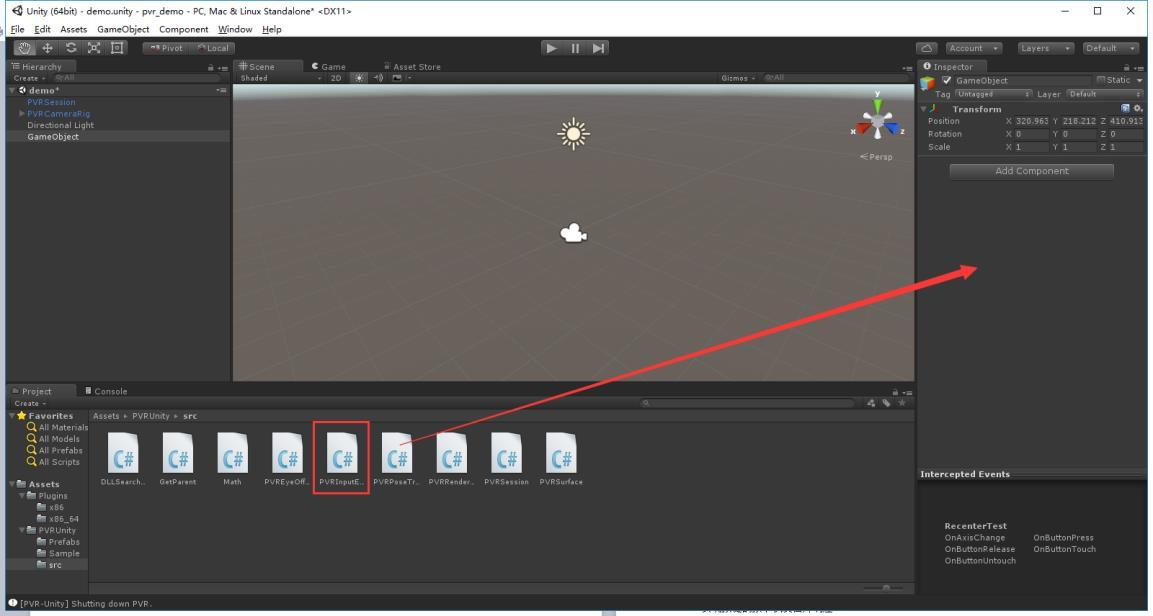
Find the PVRInputEvent. CS script in the SRC folder of the PVRUnity under the Assets directory, right-click in the blank of the Hierarchy panel to find Create Empty, click the GameObject, and drag the script to the location shown in the picture:
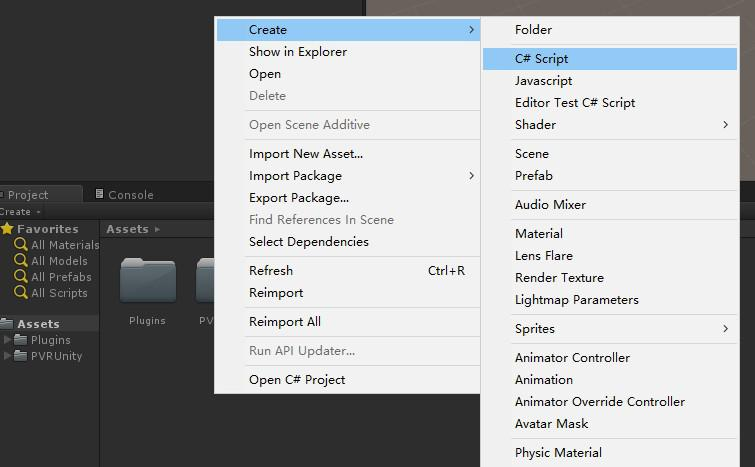
Create a script, right-click Create - > C Script like the picture below to create a script, double-click to enter:
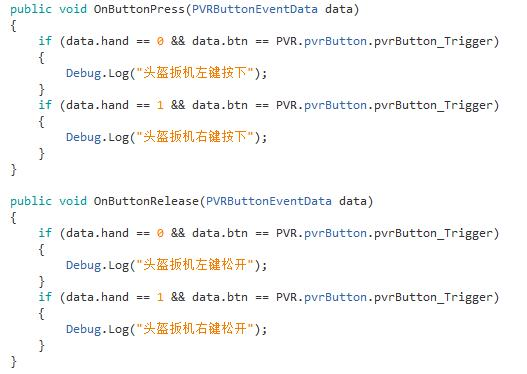
The script inherits the PVR.Unity.IPVRInputEventTarget and adds the following code in it, it changes the output print log to the relevant logic code to realize the press-up event response of the key:
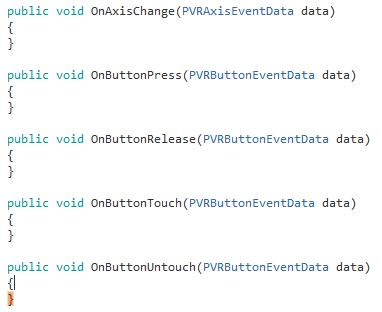
4 .In the event.format of the RecenterTest.cs script of the Sample directory, the default buttons are:
# Reset the positive direction
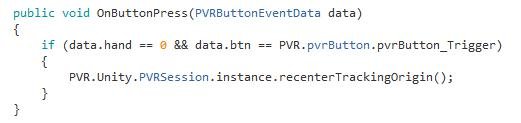
Calling interface:
PVR.Unity.PVRSession.instance.recenterTrackingOrigin();
The interface can be invoked in the key response to achieve a positive reset, as shown below:
# Meaning of each interface script
# PVRSession.cs
To realize the connection with PVR in runtime, each scenario only needs once to add, you can use PVRSession. prefab to make it.
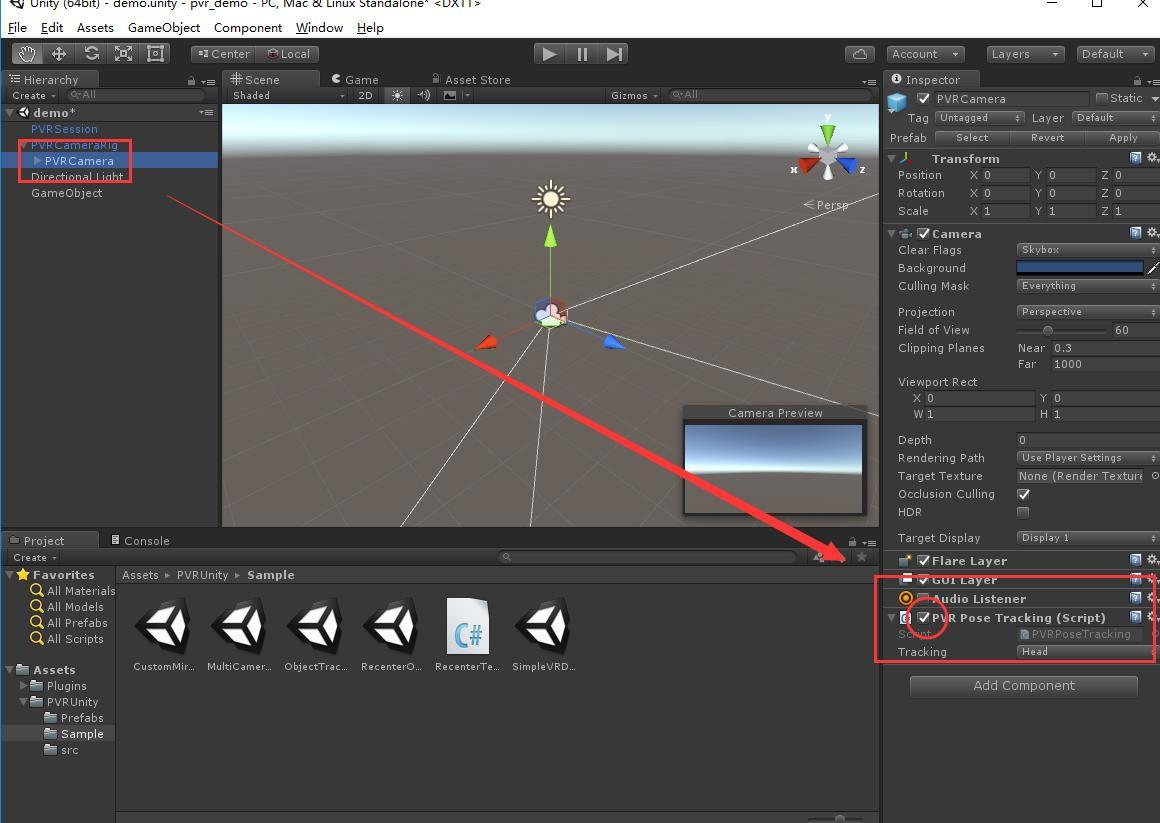
# PVRPoseTracking.cs
To realize the binding of GameObject's pose (direction and position) with head, handle, etc. When the PVRCamereRig sub-object is checked out, the script in PVRCamera can turn off the gyroscope on the VR headset, as shown in the picture:
# PVREyeOffset.cs
To locate the eyes according to their position.
# PVRSurface.cs
To Implement the output of camera screen to headset, depending on Camera component and PVREyeOffset component.
# PVRInputEvent.cs
To achieve the sending of key events on the handle and to use the format in RecenterTest. CS script to receive events, to complete the response of keys and control keys。
# Introduction of sample scenarios
# SimpleVRDemo
A single PVRCameraRig example of VR
# MultiCameraDemo
It uses multiple PVRCameraRigs to implement more complex requirements, including whether each PVRCameraRig can be customized with head control.
# MultiCameraDemo
In this sample scenario, an object has head or handle action control.
# RecenterOnInputDemo
This sample shows Handle Button Event Processing and Resetting Positive Direction.
# CustomMirrorWindowDemo
This example shows different windows pictures from those in the headset by ordinary camera.